
Automating user onboarding simplifies how new users interact with your app, making the process consistent and efficient. Here’s what you need to know:
- Why Automate? Manual onboarding is time-consuming and inconsistent. Automation ensures every user gets the same experience, saves time, and boosts user retention.
- Key Features of Automated Onboarding:
- Welcome Screens: Introduce your app’s purpose and benefits clearly.
- Guided Tours: Walk users through essential features step-by-step.
- Data Collection: Gather user preferences gradually for personalization.
- Push Notifications: Send timely reminders and tips based on user behavior.
- No-Code Tools: Platforms like AppInstitute let you create onboarding workflows without coding. Use drag-and-drop editors, templates, and analytics to design and optimize the process.
Automation not only improves user satisfaction but also frees up your team to focus on growth. Start small, monitor performance, and adjust based on user feedback.
4 ways to automate the user onboarding process
Key Elements of an Automated User Onboarding Workflow
Creating an effective automated onboarding process involves a mix of carefully integrated components. These elements work together to provide a smooth, personalized experience that not only introduces users to your app but also highlights its value. Each piece plays a role in guiding users from their first interaction to becoming active, engaged participants.
Welcome Screens and Guided Tours
Welcome screens set the tone for the entire user experience. They provide a brief introduction to your app, showcasing its main benefits while encouraging users to take the next step. The goal here is to communicate the "why" behind your app before diving into the "how." Keep it simple and inviting – this is your chance to make a strong first impression.
Guided tours are your step-by-step walkthroughs of essential features. Focus on three to five core functions to avoid overwhelming users. Make each step actionable, giving users an opportunity to try things out as they learn. This hands-on approach helps users feel more confident and engaged.
Modern guided tours can adapt to user behavior. For instance, if a user skips certain steps or shows interest in specific features, the tour can adjust to emphasize what’s most relevant to them. This dynamic approach ensures that every user gets a tailored introduction to your app. After capturing their attention visually, use this opportunity to collect key information that will help personalize their journey further.
User Data Collection and Personalization
Strategic data collection is the foundation of personalization. However, asking for too much information too soon can overwhelm users and lead to drop-offs. A better approach is progressive data collection – start with the essentials and gather additional details over time. For example, begin by asking users about their goals or preferences, focusing on information that directly enhances their immediate experience.
Personalization makes the onboarding process feel relevant and engaging. When users share information, your app can use it to customize content, features, and recommendations. This creates an instant sense of value and relevance, making users more likely to stick around.
To make this process even smarter, consider using conditional logic. For example, if a user identifies as a beginner, you can show them simplified tutorials and basic features. Advanced users, on the other hand, could skip straight to more complex tools. Timing is also crucial – spread data requests throughout the onboarding process. For instance, ask about preferences just before introducing related features, so users can see the immediate benefit of sharing their information. With this personalized setup, you can use smart notifications to keep users moving forward.
Push Notifications and Engagement Triggers
Push notifications act as gentle reminders to keep users engaged. When used thoughtfully, they can boost onboarding completion rates and encourage long-term interaction with your app.
Timing is key when it comes to notifications. A follow-up message within the first 24 hours can reinforce initial engagement. Subsequent reminders should be spaced out – perhaps three days, then seven days after the download – to maintain interest without feeling intrusive.
Behavioral triggers make notifications more effective. For example, if a user completes their profile but hasn’t explored certain features, send a targeted message highlighting those unused tools. Similarly, users who dive in on day one might get a different follow-up than those who haven’t explored much yet.
Personalized notifications outperform generic ones. Instead of sending a vague message like "Complete your setup", try something more specific: "Set your workout preferences to get personalized routines." This ties the action to a clear benefit, encouraging users to take the next step.
Engagement triggers aren’t limited to push notifications. They can include in-app prompts, email sequences, or unlocking features progressively. Some apps reveal advanced tools only after users have mastered the basics, creating a natural progression that keeps them engaged.
The secret to a successful notification strategy is delivering value with every message. Whether it’s a helpful tip, a personalized suggestion, or access to a new feature, each communication should feel meaningful. This approach builds excitement rather than frustration, encouraging users to stay connected to your onboarding process.
Step-by-Step Guide to Automating User Onboarding with AppInstitute
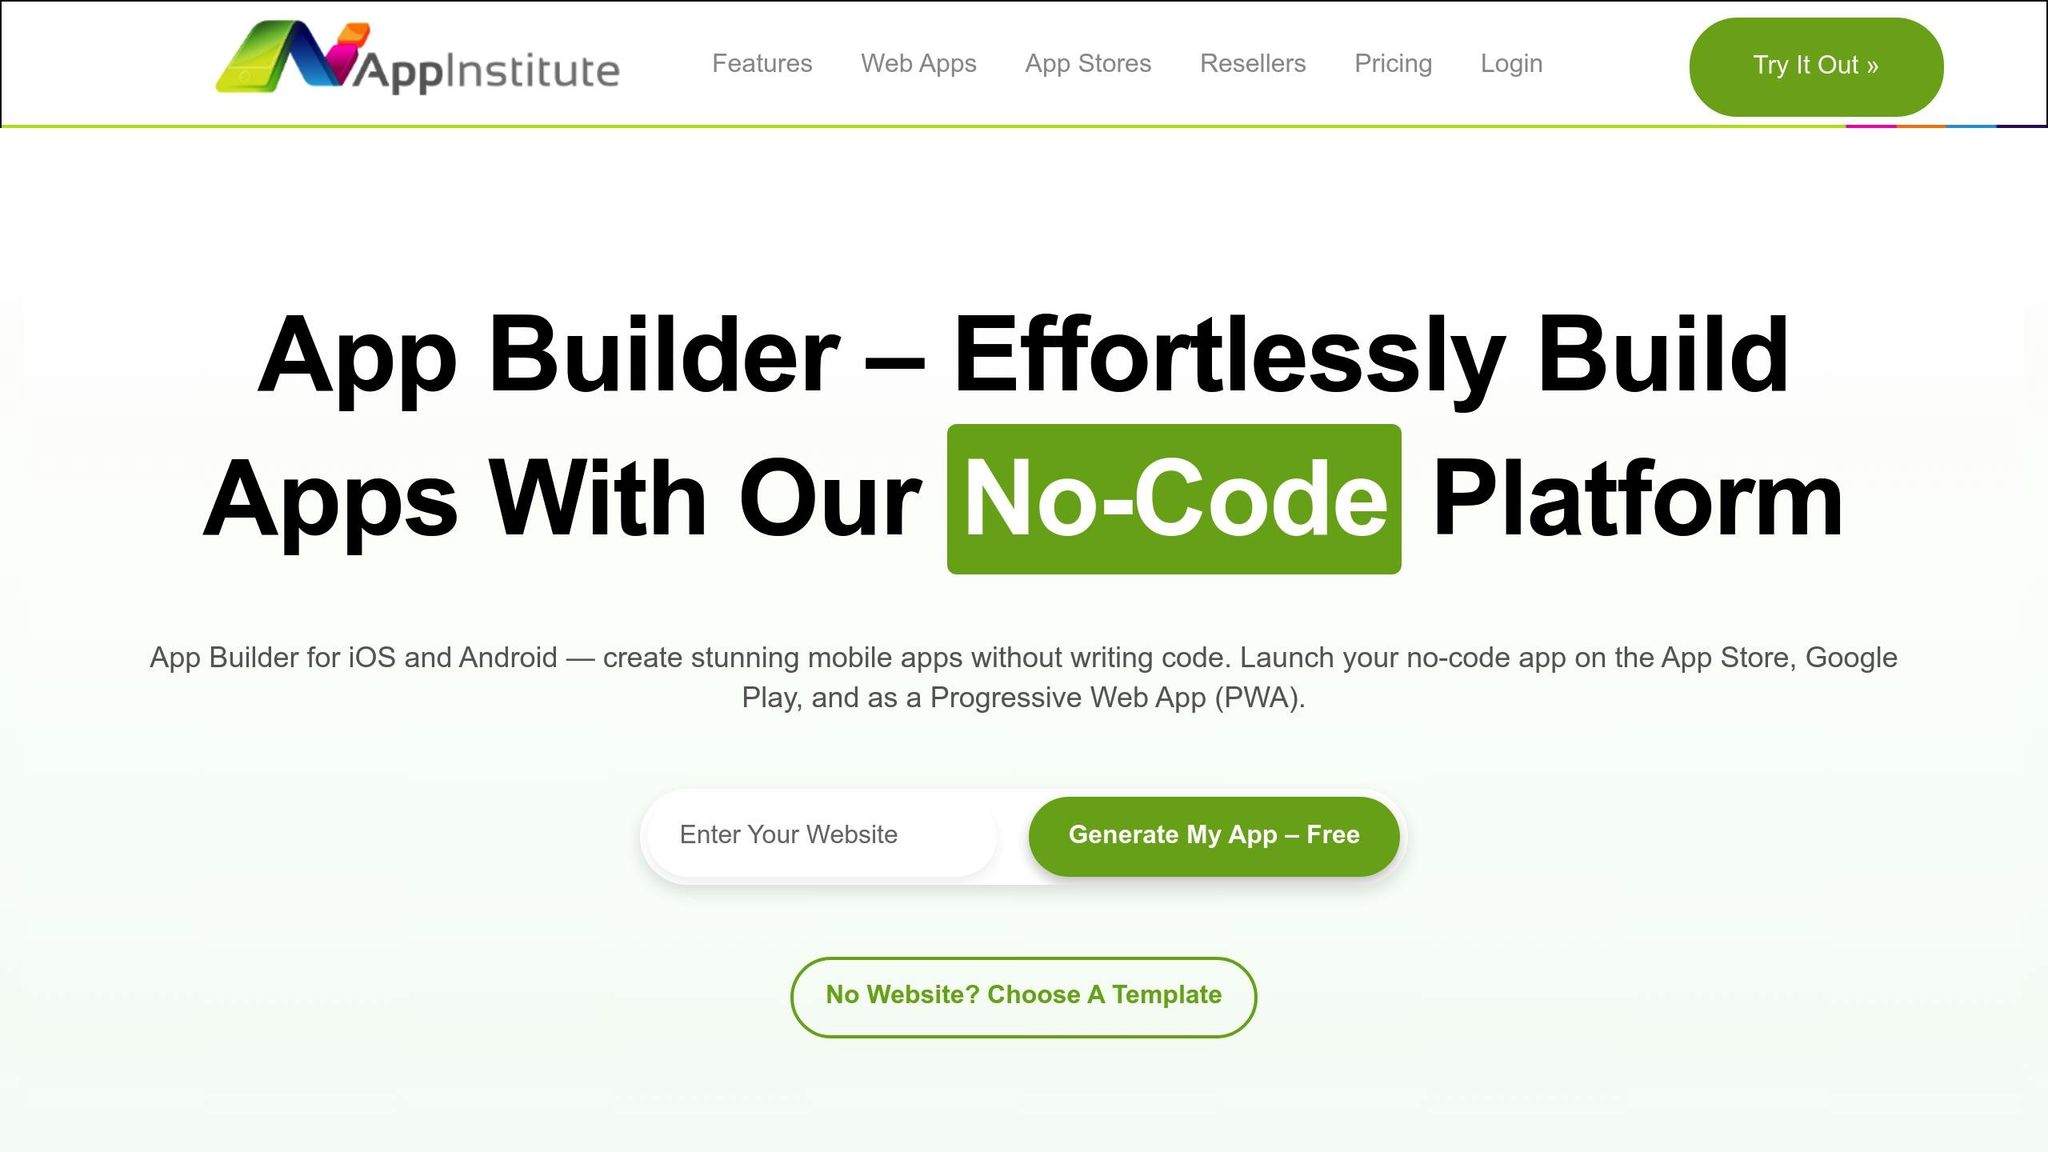
Discover how to streamline user onboarding with AppInstitute’s no-code platform. This guide walks you through the tools and features that make creating a seamless onboarding experience easier than ever.
Choosing the Right Template and Customizing Your App
Starting off with the right template sets the tone for an effective onboarding experience. AppInstitute provides industry-specific templates pre-loaded with content tailored to different business types. Select the one that best matches your needs – or opt for the "Other" template for maximum flexibility.
Once you’ve chosen a template, use the drag-and-drop editor to customize it to reflect your brand. Adjust colors, fonts, and features to align with your app’s purpose. The real-time preview feature lets you see how your changes will look to users, ensuring everything works as intended before launch.
"All templates are pre‑loaded with the relevant content each business type would need, however, they are all fully customisable." – AppInstitute Help Center
A clean, intuitive design is key to a smooth onboarding process. Think about your target audience and their expectations. For instance, a fitness app might focus on bold imagery and motivational text, while a financial app might prioritize a straightforward layout to build trust. By tailoring your app’s look and feel to your audience, you’ll make their first experience more engaging and less confusing.
Designing Onboarding Flows with the Drag-and-Drop Editor
Once your template is set, it’s time to design your onboarding flow. AppInstitute’s "About Tab" allows you to create up to six onboarding screens that introduce users to your app’s value and key features. Each screen should have a clear purpose, guiding users step by step through what your app offers.
Start with a welcome screen that highlights your app’s main benefit. Then, use additional screens to introduce features gradually. For example, instead of saying, "Calendar function", emphasize the benefit: "Never miss an appointment." This approach helps users immediately see how your app can improve their lives.
You can enhance these screens with static images, videos, animations, or even HTML for advanced customization. Use progressive disclosure to avoid overwhelming users – start with the basics and dive into details later. For example, the first screen might explain your app’s overall purpose, the next could show navigation tips, and later screens can spotlight specific features.
The drag-and-drop editor makes it simple to test different layouts and refine your flow until it feels just right.
Setting Up Push Notifications and User Management
Push notifications are a powerful way to keep users engaged during and after onboarding. AppInstitute offers three types: Simple, Scheduled, and Geo-Fenced. These notifications are available during the 30-day free trial, with unlimited notifications included in Premium and Pro plans.
Start by enabling push notifications when setting up your app. Then, schedule messages to keep users engaged. For example:
- Send a welcome message within the first hour.
- Highlight a key feature after 24 hours.
- Check in on user progress after three days.
Geo-fenced notifications allow you to send location-based messages, adding another layer of personalization. For instance, you could send a special offer when a user enters a specific area.
User management tools help you collect and organize data during onboarding. Use customizable forms to gather preferences or build detailed user profiles. By segmenting users with tags based on their behavior or responses, you can send targeted messages that feel personal.
Finally, track your onboarding performance with AppInstitute’s analytics. Metrics like open rates, click-through rates, and conversions help you fine-tune your notifications and improve your onboarding strategy over time. This ensures you’re continuously enhancing the user experience while freeing up time to focus on growing your business.
sbb-itb-539ae66
Best Practices for Effective Onboarding Automation
Automated workflows and UI customization are just the beginning. To make your onboarding process truly effective, it needs to strike the right balance between efficiency and engagement. Every interaction should feel purposeful and leave users with a clear understanding of your app’s value.
Keep Onboarding Simple and Engaging
Focus on showcasing your app’s main benefit right away. Users often decide whether to stick with an app within the first 30 seconds, so those initial moments are crucial. Highlight your app’s core value proposition before diving into specific features.
Start with the three-screen rule. While platforms like AppInstitute allow for up to six onboarding screens, most users prefer fewer steps. Each screen should serve a distinct purpose – whether it’s introducing your brand, explaining a key feature, or gathering essential user information.
Interactive elements can replace static text to demonstrate features in action. This hands-on approach helps users immediately grasp how your app can help them.
Design each screen with bold headings, clear icons, and concise text (15–20 words max). This keeps the focus on what matters most.
Use progressive disclosure to prevent overwhelming users. Begin with basic navigation and gradually introduce more advanced features over time, ideally across multiple sessions. This method works especially well for productivity or business apps, where users need time to familiarize themselves with different capabilities.
For U.S. users, tailor these interactions to align with their expectations and preferences.
Localize for the U.S. Market
Localization goes beyond just simplifying the process – it’s about making the experience feel intuitive and relatable. Use U.S. English with local spellings and formats. For example:
- Measurements: Use miles and Fahrenheit.
- Dates: MM/DD/YYYY format.
- Time: 12-hour clock.
- Currency: Display prices in U.S. dollars.
Additionally, adopt clear, benefit-driven messaging and ensure your app complies with accessibility standards to cater to a diverse audience.
Use Feedback and Analytics
Keep a close eye on user behavior to refine your onboarding process. Metrics like screen drop-off rates and engagement times can reveal problem areas. Use A/B testing to experiment with screen order, visuals, and language, and collect user feedback after a few days of app usage.
Behavioral insights are key. For instance, if users complete onboarding but fail to return within 48 hours, it’s a sign that your process might lack a compelling follow-up. On the flip side, high return rates indicate that your onboarding effectively demonstrates the app’s value.
Adjust your flows based on seasonal trends and user patterns to keep the experience fresh and relevant.
Monitoring and Optimizing Your Onboarding Workflow
An automated onboarding process needs constant attention to ensure it performs as expected. Without ongoing monitoring and fine-tuning, even a well-thought-out sequence might fall short of its potential.
Analyzing User Engagement Metrics
AppInstitute’s analytics tools provide detailed insights into how users interact with your onboarding process. These tools break down user activity screen by screen, making it easier to spot where users disengage or what features keep them interested.
For example, tracking completion rates can help you identify problem areas, such as screens where users drop off early or spend too little time. On the other hand, if users linger too long on a particular screen, it might signal confusion or an overload of information.
Another key metric to watch is how soon users return to your app after finishing onboarding. A delay in re-engagement could suggest a mismatch between what the onboarding process promises and what the app delivers. Additionally, tracking post-onboarding feature adoption can reveal whether your key app functions are being effectively communicated.
Testing and Improving Onboarding Steps
A/B testing is a powerful way to refine your onboarding process. By testing one element at a time – like the order of screens, button labels, text length, or visuals – you can identify what resonates best with users. This approach provides data-driven insights, helping you make informed adjustments rather than relying on guesswork.
Start with simple tweaks. For instance, a minor change in button text or reordering a couple of screens could lead to noticeable improvements in completion rates without requiring a significant overhaul. Ensure your tests involve a large enough sample size to confidently evaluate the results.
It’s also worth refreshing your onboarding content to align with current trends or seasons. For example, at the start of the year, you might emphasize fitness or motivational goals, while during holidays, you could highlight seasonal features.
Don’t underestimate the value of direct user feedback. Automated surveys triggered after onboarding can uncover valuable insights. Keep these surveys short and focused with questions like, "Which screen did you find most confusing?" or "What feature would you like to explore first?" Concise surveys are more likely to get responses.
Rather than waiting for major updates, adopt an iterative approach by making small, regular improvements. This allows you to quickly adapt to user behavior and refine the experience over time.
Once your onboarding process is optimized, consider adding personalization to make the experience even more engaging.
Balancing Automation and Personalization
The best onboarding processes combine the efficiency of automation with personalized touches that make users feel valued. By using data collected during onboarding, you can tailor future interactions without requiring manual effort.
For instance, dynamic content can create tailored experiences at scale. If a user identifies as a small business owner during onboarding, follow-up notifications could highlight features specifically designed for businesses. AppInstitute’s user management system can store these preferences and automatically apply them to future interactions.
Behavioral triggers are another way to personalize the experience. If a user skips certain onboarding screens, automated reminders can nudge them to explore those features later. Meanwhile, users who breeze through onboarding might receive advanced tips sooner.
Location-based personalization is also effective. For U.S. users, you might adjust examples and recommendations based on whether they’re in urban or suburban areas. For example, city users might see delivery-focused features, while suburban users could be shown takeout options.
Personalization doesn’t have to stop after onboarding. As users continue engaging with your app, you can gather more data to refine their experience further. This ensures new users aren’t overwhelmed while still providing opportunities for long-term customization.
Adding personal touches – like welcome messages that use the user’s name or contextual tips based on their actions – makes automation feel more thoughtful and engaging. These small details can significantly enhance user satisfaction and retention.
Conclusion
Automated user onboarding has reshaped how new users experience apps, making their first interactions smoother and more engaging. The strategies shared in this guide show that successful onboarding automation goes beyond technology – it’s about building genuine connections with users from the start.
Key Takeaways
Automated workflows remove guesswork and ensure consistency. Features like welcome screens guide users through your app’s essentials, while personalized data collection tailors their experience from day one. Push notifications and engagement triggers keep users engaged without bombarding them.
AppInstitute’s no-code platform simplifies implementation for business owners, even without technical expertise. Its drag-and-drop editor makes creating onboarding flows straightforward, and industry-specific templates provide a solid starting point. The platform also automates data collection and personalization, whether you’re building for iOS, Android, or Progressive Web Apps, streamlining the entire process.
Continuous improvement is key to success. Analytics tools and A/B testing reveal what resonates with users, while balancing automation with personalization ensures users feel valued and understood.
The best onboarding strategies combine efficiency with value. They respect users’ time, provide clear benefits, and make even the most complex apps feel user-friendly and approachable.
Next Steps for Business Owners
Take these insights and put them into action to improve your app’s performance. Start by exploring AppInstitute’s industry-specific templates to find one that aligns with your business. Use the drag-and-drop editor to customize your onboarding flow – whether it’s a simple welcome screen or more advanced user segmentation.
Once your onboarding system is live, focus on sustaining long-term success. Set clear performance indicators and use analytics and quick surveys to gather user feedback. This will help you monitor effectiveness and uncover areas for improvement.
Keep your app relevant by regularly adding updates and features based on user needs and market trends. Provide timely support to address user concerns and ensure smooth performance.
With AppInstitute’s no-code tools and a commitment to post-launch improvements, you can create more than just functional apps – you can deliver experiences that users will want to return to. Your automated onboarding process can become the cornerstone of lasting relationships with your app’s users.
FAQs
How can I make my app’s automated onboarding process more personalized for users?
Creating a personalized automated onboarding experience starts with collecting the right user information – things like their preferences, goals, or demographics. This data is the foundation for crafting an experience that feels tailored to each individual. Think along the lines of sending custom messages, showcasing features they’ll find most useful, or offering recommendations that match their specific needs.
No-code platforms make this process much easier. They provide tools to build flexible workflows that can adjust based on how users interact or respond. On top of that, integrating AI-driven features can take personalization to the next level. AI can automatically deliver content or interactions that feel timely and relevant, making the onboarding process smoother and more engaging for every user.
What are the best practices for using push notifications to improve user onboarding in apps?
To make push notifications work during onboarding, focus on personalization, timing, and relevance. Craft messages that reflect each user’s behavior and preferences so they feel more useful and tailored. For example, you could highlight features or share tips that match what the user has already explored.
Timing matters just as much. Aim to send notifications when users are most likely to engage – like during their active hours. But don’t overdo it. Bombarding users with too many alerts can lead to notification fatigue. Instead, monitor their engagement patterns and adjust the frequency to find the right rhythm.
When you combine personalized content, well-timed messages, and a balanced approach, push notifications can make onboarding smoother and more engaging for your app users.
How can I use analytics to improve my app’s user onboarding experience?
To make your app’s onboarding process smoother and more effective, leverage analytics to monitor crucial metrics such as user engagement, drop-off points, and conversion rates. These data points reveal where users lose interest, allowing you to make targeted adjustments that keep them engaged.
Using tools like session recordings and funnel analysis, you can dig deeper into user behavior to identify specific problem areas. Once you know what’s causing friction, you can test and implement solutions to streamline the experience. Continuously reviewing and improving your onboarding process not only boosts user retention but also leaves a lasting positive impression.
Related Blog Posts
- How to Build an App Without Coding Skills
- How to Onboard Teams to No-Code Platforms
- How Subscription Apps Generate Recurring Revenue
- Best Practices for No-Code Workflow Design
Last Updated on August 31, 2025 by Ian Naylor
0 thoughts on “How to Automate User Onboarding in Apps”