
Push notifications are a direct way to keep users engaged by delivering updates, alerts, and personalized messages. Whether you’re targeting iOS, Android, or Progressive Web Apps (PWAs), each platform requires a unique setup process:
- iOS: Uses Apple Push Notification service (APNs). Requires an Apple Developer account, APNs credentials, and app configuration in Xcode.
- Android: Relies on Firebase Cloud Messaging (FCM). Needs a Google Play Developer account, Firebase project setup, and integration with the app.
- PWAs: Utilizes web push services and service workers. Requires browser compatibility, permission handling, and backend integration.
Key Steps:
- Gather necessary credentials and tools for each platform.
- Configure platform-specific settings (e.g., APNs for iOS, Firebase for Android, service workers for PWAs).
- Test notifications on physical devices to ensure proper delivery and functionality.
Setting up and sending push notifications (Lesson 7.7)
Setting Up iOS Push Notifications with APNs
Apple Push Notification service (APNs) is the backbone of delivering push notifications to iOS devices. To get started, you’ll need to create credentials through your Apple Developer account, configure your app in Xcode, and test to ensure notifications are reaching users as expected. APNs processes your notification request, delivers it to the device, and displays it according to the user’s settings.
Creating Push Credentials in the Apple Developer Console
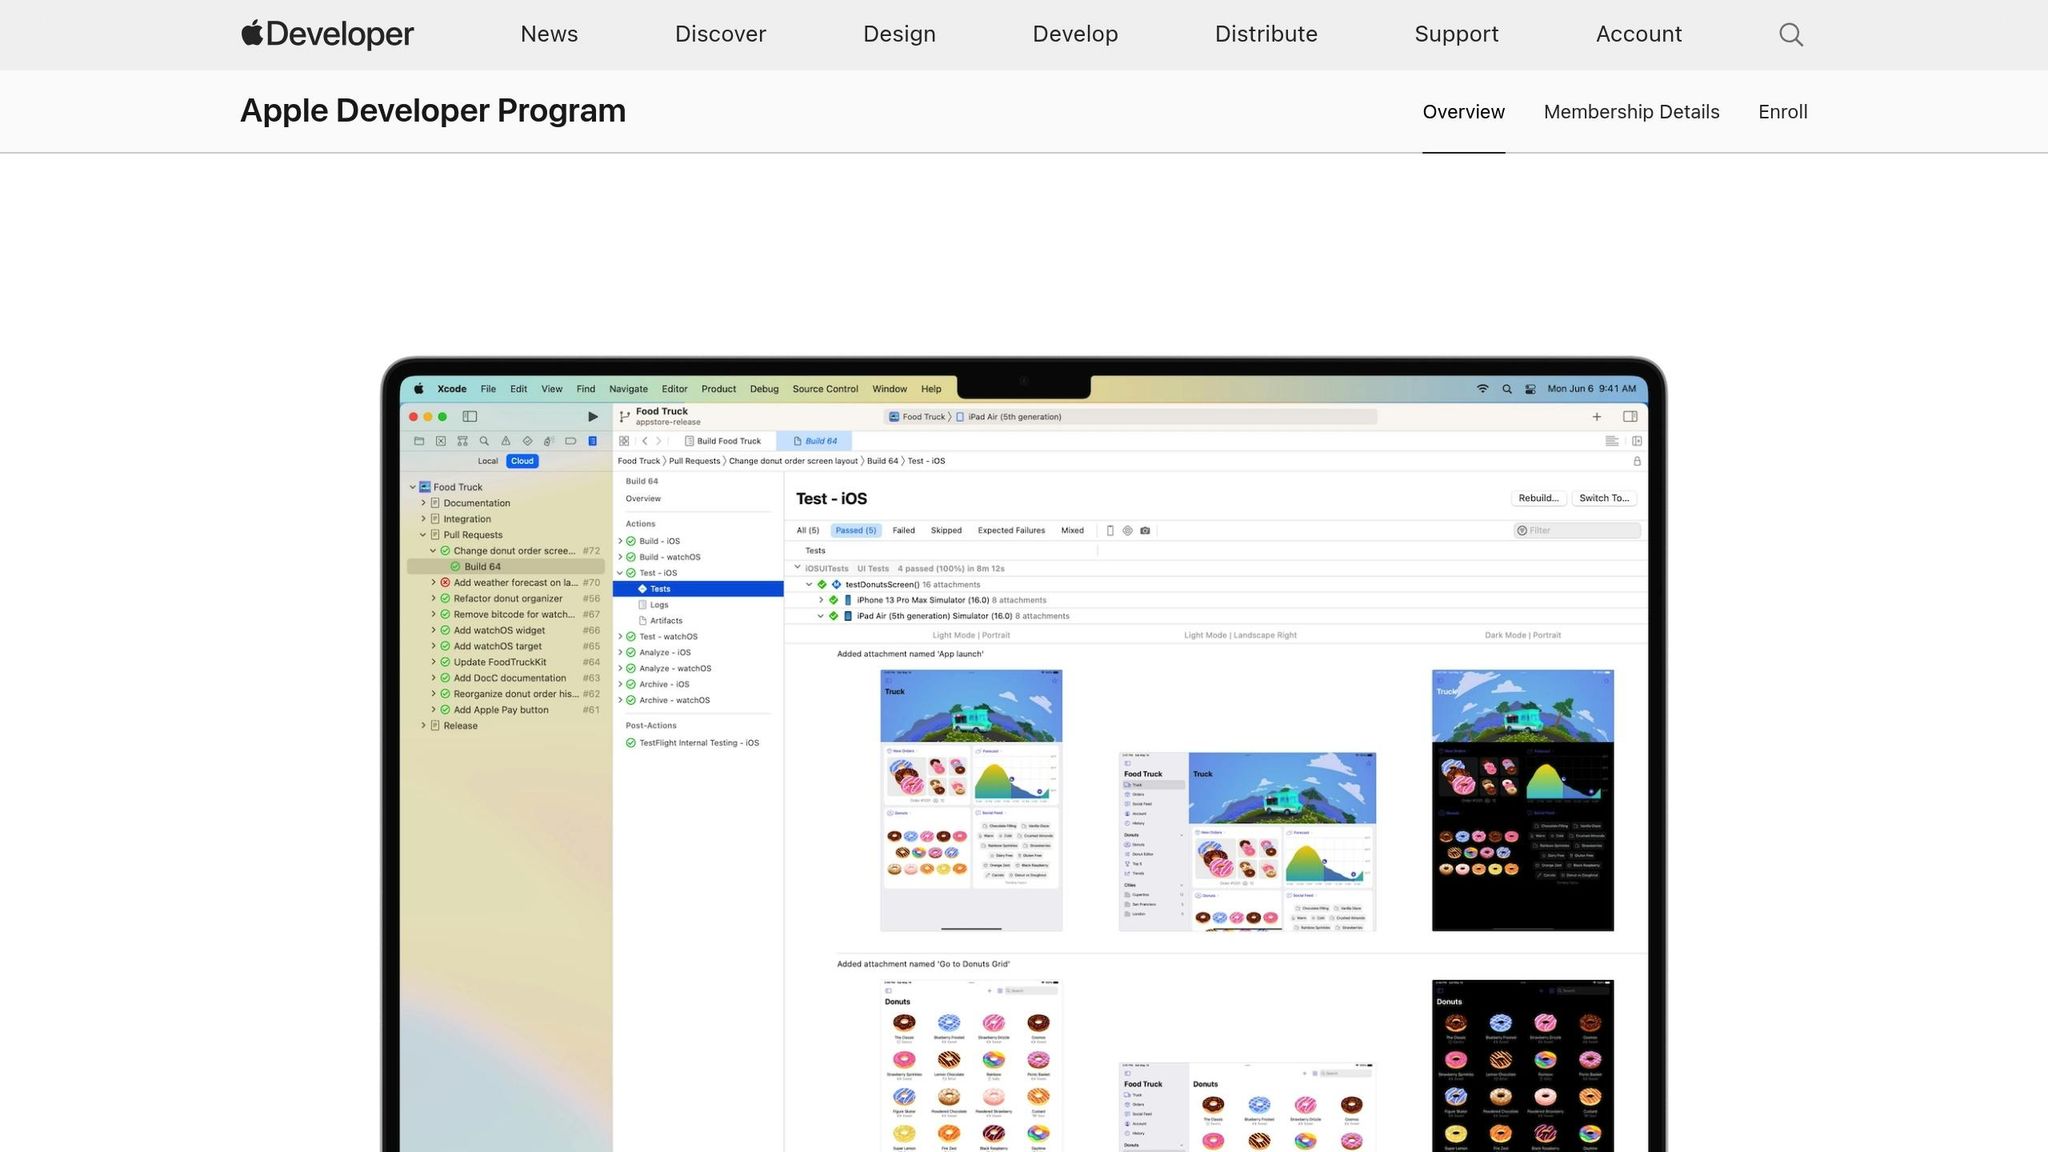
To use APNs, your server needs authentication credentials to communicate with Apple’s system. Apple offers two options: certificate-based authentication (an older method) and token-based authentication (the preferred approach). Token-based authentication is generally easier since a single key works across all your apps, unlike certificates that require separate files for each app.
Start by logging into your Apple Developer account and going to Certificates, Identifiers & Profiles. Locate your app’s unique App ID and click on it to access its settings. Enable the Push Notifications capability to signal that your app will send notifications.
For token-based authentication, create an APNs Auth Key. Navigate to the Keys section, click the plus button to create a new key, and name it something descriptive like “Push Notifications Key.” Be sure to check the Apple Push Notifications service (APNs) box. Once the key is created, download the .p8 file immediately – it won’t be available for download again. This file contains a Key ID that you’ll need to configure your server.
If you opt for certificate-based authentication, you’ll need to create a push notification certificate under the Certificates section. Choose either a development or production certificate based on your app’s lifecycle stage. Before uploading, generate a Certificate Signing Request (CSR) from the Keychain Access app on your Mac. After uploading the CSR, download the resulting certificate and install it on your Mac.
Keep these credentials secure, as your server will use them to authenticate with APNs whenever it sends a notification. Once your credentials are ready, move on to configuring your app in Xcode.
Configuring App Settings for APNs
With credentials in hand, it’s time to set up your app in Xcode. Open your Xcode project, click on your app target, and head to the Signing & Capabilities tab.
Add the Push Notifications capability by clicking the plus button. Also, enable Background Modes and check the Remote notifications option. This ensures your app can receive notifications even when running in the background.
To manage notifications, implement UNUserNotificationCenter in your AppDelegate. Set the notification center’s delegate in the didFinishLaunchingWithOptions method to handle incoming notifications and user interactions.
Request user permission to display notifications by calling UNUserNotificationCenter.current().requestAuthorization() with options for .alert, .sound, and .badge. These options control what elements your notifications can include – alerts for messages, sounds for audio, and badges for app icon updates. Once permission is granted, call UIApplication.shared.registerForRemoteNotifications() to get a device token from APNs. This token acts as the address for sending notifications to a specific device.
Capture the device token in the didRegisterForRemoteNotificationsWithDeviceToken method. Since the token is raw data, convert it to a string format for your server. Send the token to your server so it can store it in a database. This token will be used each time your server sends a notification to the user’s device.
Make sure to implement delegate methods to handle notifications in both foreground and background scenarios.
Testing Push Notifications on iOS
After setting everything up, thorough testing on a physical device is essential. Push notifications don’t work reliably on simulators, so use an iPhone or iPad connected to your Mac. Build your app in Xcode and install it on the device.
During development, APNs uses a sandbox environment, while live apps use the production server. Keep in mind that device tokens differ between these environments, so a sandbox token won’t work for production notifications.
Run your app on the test device and allow notification permissions when prompted. Verify that the device token is correctly stored in your server logs. To test, you can use your server or a push notification testing tool to send a notification to the device token. Ensure you’re targeting the sandbox APNs server (api.sandbox.push.apple.com) during development.
Test various scenarios to confirm everything works as expected. For instance:
- Send a notification while the app is in the foreground to check if the
willPresentdelegate method handles it correctly. - Close the app and send another notification to ensure it appears on the lock screen.
- Tap the notification to verify it opens the app and triggers the
didReceivedelegate method.
If notifications fail to arrive, troubleshoot common issues like expired certificates, mismatched bundle identifiers, or incorrect APNs server URLs. Double-check that your Push Notifications capability is enabled both in your App ID settings and in Xcode. Also, ensure your test device has an active internet connection and that Do Not Disturb isn’t blocking notifications.
For more detailed debugging, use Apple’s push notification logs available in your developer account. If you’re using a platform like AppInstitute, much of this setup is automated, though you’ll still need to grant secure access to your Apple Developer account for app submissions.
Setting Up Android Push Notifications with Firebase Cloud Messaging (FCM)
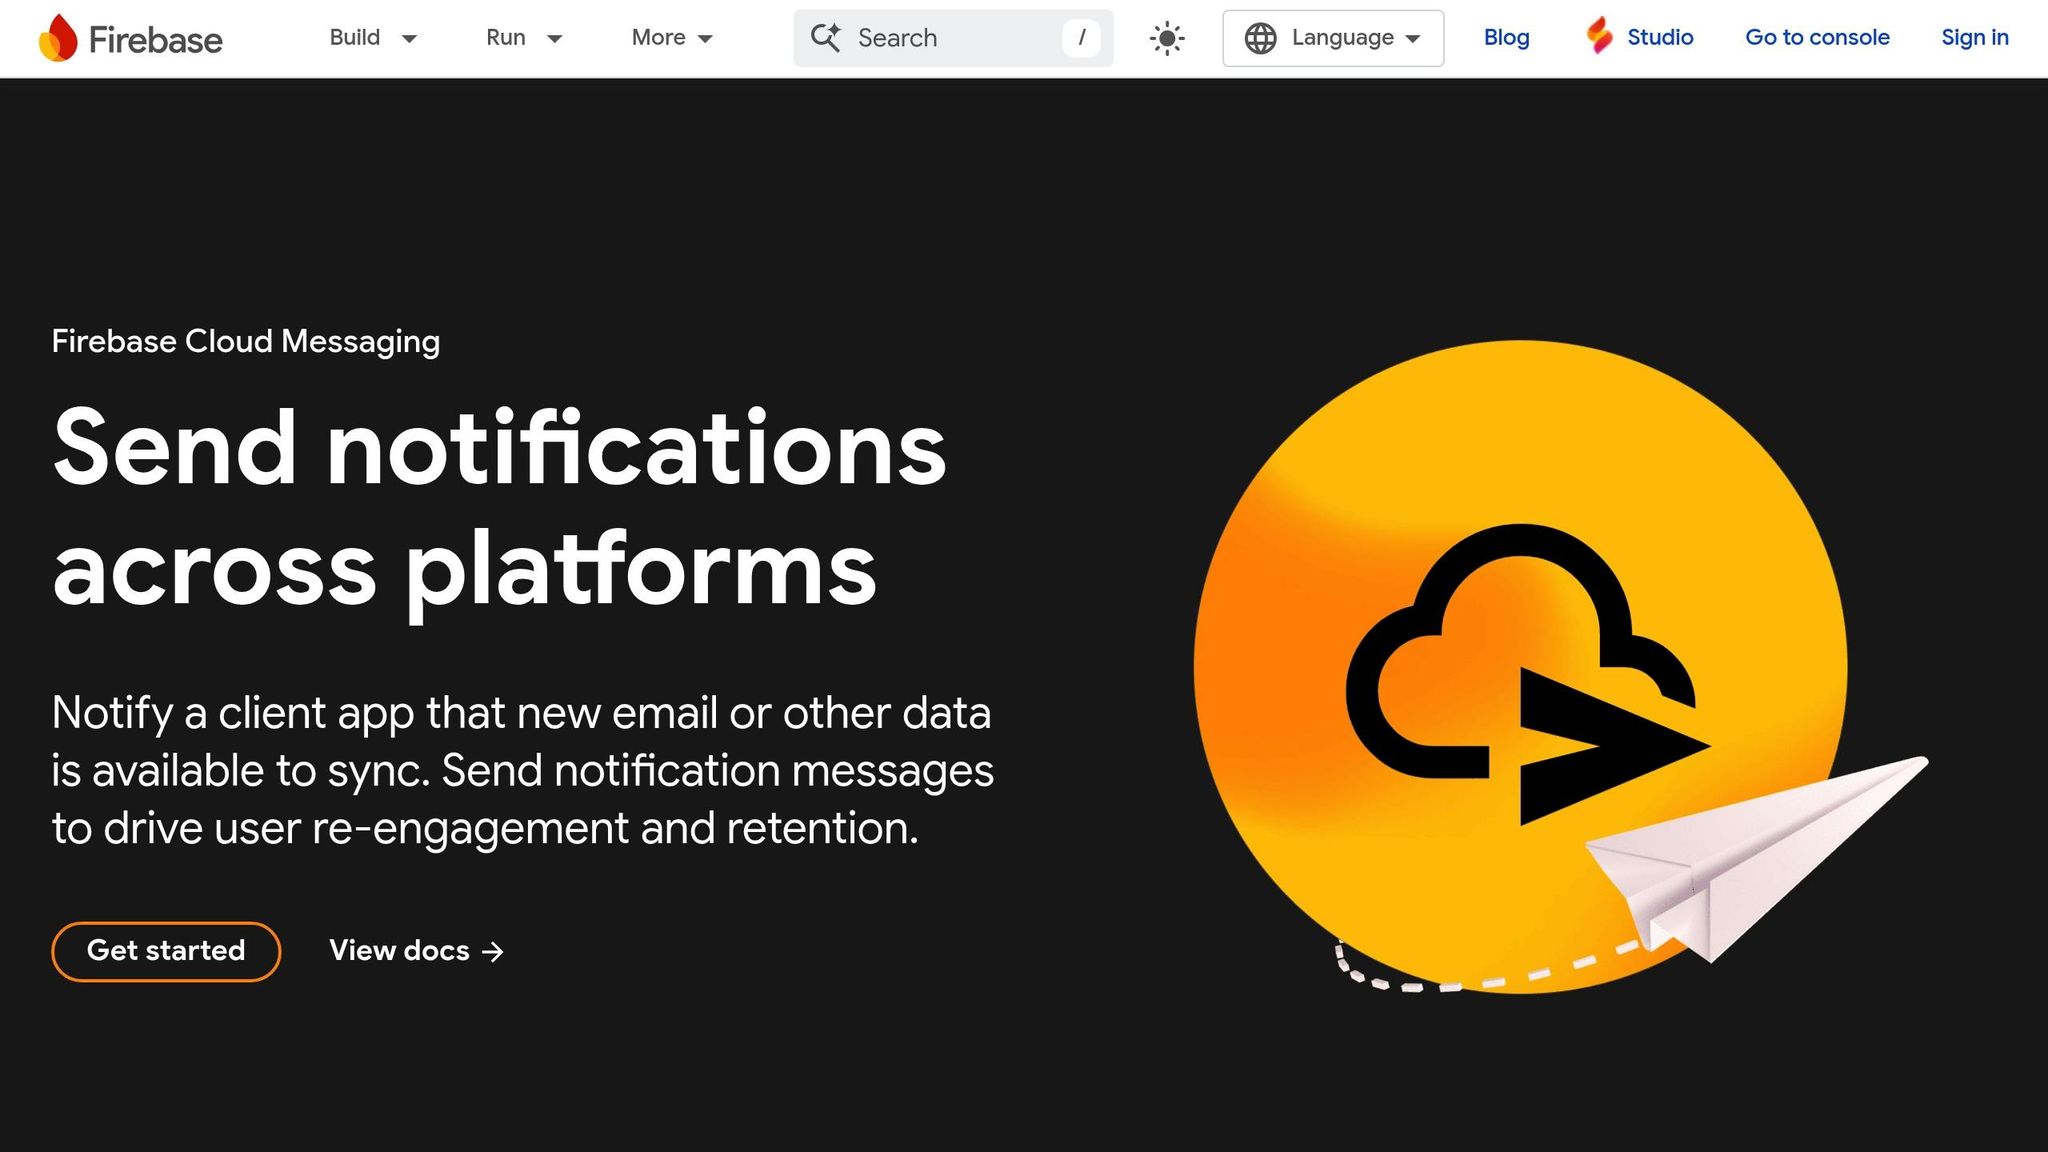
Firebase Cloud Messaging (FCM) is Google’s service for sending push notifications to Android devices. It replaced the older Google Cloud Messaging (GCM) system, offering a more streamlined setup and integration with Google’s ecosystem. With FCM, you get a unified configuration that works across development and production stages.
Creating a Firebase Project and Generating Credentials
To send notifications to Android devices, you first need to set up a Firebase project and link it to your app. This process generates the credentials required for FCM communication.
Start by heading to the Firebase Console and signing in with your Google account. Click Add project, and give it a name that matches your app. You can enable Google Analytics if you’d like to track notification performance, but this step is optional for basic functionality.
Once your project is ready, click the Android icon to register your app. You’ll need your app’s package name, which must exactly match the one in your Android project’s build.gradle file. Any mismatch here can cause setup errors. You’ll also need a SHA-1 certificate fingerprint, which you can generate using the keytool command in your terminal. For debug builds, use the debug keystore in your .android folder. For production builds, use your release keystore.
After registering your app, download the google-services.json file generated by Firebase and place it in your app’s directory. This file contains critical credentials like the Sender ID and API keys used by FCM for authentication. Treat this file as sensitive – don’t commit it to public repositories.
To send notifications from your server, you’ll need a Server Key, found in the Firebase Console under Project Settings > Cloud Messaging. This key acts as an authentication token for API calls to FCM. Store it securely, as it can be misused to send unauthorized notifications if exposed.
Adding FCM to an Android App
Once your Firebase project is set up, it’s time to integrate FCM into your Android app. Start by updating your project-level build.gradle file to include the Google services classpath. Then, in your app-level build.gradle, apply the Google services plugin and add the Firebase Messaging dependency. Sync your project to download the necessary libraries.
To handle notifications, create a service class that extends FirebaseMessagingService. This service intercepts messages from FCM, allowing you to control how they are displayed. Override the onMessageReceived() method to process incoming notifications. Here, you can decide whether to show the notification in the system tray, update your app’s UI, or save data locally.
FCM supports two message types: notification messages and data messages. Notification messages are automatically handled by the FCM SDK and appear in the system tray, even if your app is closed. However, customization options are limited. Data messages, on the other hand, are delivered directly to your onMessageReceived() method when the app is running, giving you full control over how they’re processed and displayed.
Don’t forget to register your service in the AndroidManifest.xml file with the correct intent filters.
Each device requires a unique registration token to receive notifications. FCM generates this token when your app first runs. Retrieve it using FirebaseMessaging.getInstance().getToken() in your main activity, and send it to your server to enable targeted notifications. Because tokens can change, implement the onNewToken() method in your service to handle updates and notify your server.
For devices running Android 13 (API level 33) or higher, you’ll need to request runtime permission to display notifications. Add the POST_NOTIFICATIONS permission to your manifest and request it at runtime using the Android permissions API. Without this permission, notifications won’t appear on these devices.
Testing Push Notifications on Android
After integrating FCM, it’s essential to test your setup on a physical device to ensure everything works as expected.
Install your app on a test device and launch it. Check the logs to confirm that a device registration token was successfully generated. If the token doesn’t appear, make sure Google Play Services is installed and up to date on the device – FCM depends on it.
Firebase provides a built-in testing tool that doesn’t require backend setup. In the Firebase Console, go to Cloud Messaging and click Send test message. Enter your device’s registration token, compose a test notification, and hit Test. Within seconds, the notification should appear on your device.
Test various scenarios to ensure reliability. For example, send a notification while your app is open to verify that onMessageReceived() processes it correctly. Then close the app and send another notification to confirm it appears in the system tray. Tap the notification to check that it opens your app and triggers any navigation logic you’ve implemented.
If notifications fail, double-check that the google-services.json file is correctly placed, the package name matches, and the device has active Google Play Services. The Firebase Console’s delivery reports can help diagnose issues, often pointing to problems like invalid tokens or authentication errors.
For advanced testing, use Firebase’s notification composer to schedule messages, target user segments, or A/B test different variations. Firebase Analytics can also track how users interact with your notifications, offering insights into engagement.
If you’re using a no-code platform like AppInstitute to build your app, much of the FCM integration is handled automatically. You’ll typically only need to provide your Firebase credentials, and the platform takes care of the technical setup.
sbb-itb-539ae66
Configuring Push Notifications for Progressive Web Apps (PWAs)
Progressive Web Apps (PWAs) stand out by delivering app-like experiences directly in web browsers, and push notifications are a vital part of that functionality. Unlike native apps that use services like APNs or FCM, PWAs rely on the browser’s Push API and service workers to handle notifications. Setting this up requires a different approach compared to iOS and Android, and browser compatibility plays a big role in implementation and testing.
Implementing Service Workers for PWAs
A service worker is a JavaScript file that operates in the background, separate from your webpage, acting as a bridge between your PWA, the browser, and the network. For push notifications, it listens for incoming messages and displays them to users – even when the PWA isn’t actively open.
The easiest way to set this up is by using a push notification service SDK. These SDKs often come with a pre-configured service worker file, saving you the hassle of building one from scratch.
If you prefer to create your own, start by crafting a service-worker.js file and placing it in your web app’s root directory. This file should include event listeners for push (to handle incoming notifications) and notificationclick (to manage user interactions). Register the service worker in your main script using navigator.serviceWorker.register(). After that, subscribe to the Push API to generate an endpoint and encryption keys, and send these details securely to your backend for targeting users later.
Managing User Permissions and Subscriptions
Before you can send notifications, users need to grant permission, and the process varies slightly depending on the browser.
Once your service worker or SDK is in place, request permission using Notification.requestPermission(). This triggers a browser dialog asking users to allow, block, or dismiss the notification request. If permission is granted, subscribe the user to the push service. This step generates a subscription object containing an endpoint URL and encryption keys, which should be sent to your server for future use.
iOS brings some unique challenges for PWAs. Users must first install the PWA on their home screen before they can subscribe to notifications. Unlike Android, which often prompts users to install PWAs automatically, iOS requires you to design a custom prompt encouraging installation. Once the PWA is installed, users can be prompted to subscribe, and Safari will handle the permission request.
Testing Web Push Notifications
After configuring your service worker and subscription process, thorough testing across browsers is essential to ensure everything works smoothly. Keep in mind that web push notifications, delivered via the browser’s Push API, have fewer capabilities than native notifications and don’t integrate as deeply with the device’s operating system.
Start testing with Google Chrome, which has robust support for web push notifications. Open your PWA or install it in a browser tab, grant notification permissions, and use your push notification provider’s dashboard to send test notifications. Verify that notifications display correctly and function as expected.
Next, test on Firefox, which may handle notifications slightly differently, especially in terms of styling or positioning. Ensure that your content remains easy to read across all scenarios.
For Safari, pay special attention to macOS and iOS. On macOS, Safari supports web push notifications for PWAs added to the Dock. On iOS, notifications work only for PWAs installed on the home screen. Test the full flow on an iPhone, from prompting users to install the PWA, to requesting permissions, and finally sending test notifications.
Simulate various scenarios, such as receiving notifications when the PWA is open, closed, or when the browser isn’t running. Make sure clicking on a notification opens the PWA and navigates to the correct page (e.g., if you’ve implemented deep linking).
For an easier setup process, platforms like AppInstitute offer tools to streamline PWA development. Their 30-day free trial allows you to build and test push notifications without needing to configure everything manually. Once your setup is complete, you can refine your app’s notification strategy and user experience further.
Best Practices for Testing and Managing Push Notifications
Once your push notification system is set up, the next step is managing it effectively across platforms. This involves centralizing credentials, keeping a close eye on performance, and addressing potential issues quickly. Done right, these practices ensure notifications are reliable and enhance the user experience.
Creating Unified Channel Configurations
Keep things simple by centralizing your APNs keys, Firebase server keys, and VAPID keys in one secure location. Many push notification platforms let you upload all these credentials and manage them through a single dashboard. This not only saves time but also reduces the chance of errors.
Your system should also act as a single source of truth for user preferences. For example, if a user disables notifications on one device, that preference should automatically apply across all their devices. This prevents situations like someone continuing to receive notifications on their iPhone after opting out on their Android device.
Using a push notification management platform can make life easier. These platforms handle multi-platform delivery automatically. You send one API call, and they ensure the message is delivered to the right device type, cutting down on coding headaches and reducing platform-specific errors.
Common Problems and How to Fix Them
Even with a solid system in place, issues can arise. Here are some common problems and how to address them:
- Expired certificates and tokens: APNs certificates expire annually, and while authentication keys don’t expire, they can be revoked. If iOS notifications stop working, check your Apple Developer Console for expired certificates. For Android, ensure your Firebase server keys are up-to-date and properly configured if you regenerate them.
- Device token management issues: Users switching devices or reinstalling your app can create token problems. On iOS, a user can have up to 20 APNs tokens before older ones are removed automatically. Always store the most recent token and clean up outdated ones to avoid sending notifications to inactive devices.
- Permission problems: Timing is everything. If you ask for notification permissions too early, users might deny access. Once denied, they’ll need to manually enable notifications in their settings. To address this, add a fallback prompt that guides users to re-enable notifications. For iOS PWAs, remember that users must install the app to their home screen before subscribing to notifications.
- Misconfigured service workers: For PWAs, service worker issues can block notifications. Ensure the service worker file is in the root directory and free of syntax errors. Use browser DevTools to check registration status. You can even test it by triggering a “Push” event in the Application tab.
- Platform-specific manifest issues: iOS PWAs require a properly formatted
manifest.jsonfile. Fields like “name”, “short_name”, “display” (set to “standalone”), and an icons array with at least a 192×192 PNG icon are essential. Missing or incorrect fields can prevent iOS from recognizing the PWA, disrupting the notification flow.
If you’re still facing issues, check server logs for error codes. Keep a reference guide for common errors handy to speed up troubleshooting.
Monitoring and Analyzing Notification Performance
To keep your notifications effective, monitoring performance is key. Focus on these metrics:
- Delivery rate: The percentage of notifications successfully reaching devices. Low rates often point to issues like expired tokens or misconfigured credentials.
- Open rate: How many users click on your notifications. This shows how engaging your content is.
- Conversion rate: Tracks users who take a desired action after clicking a notification, tying your efforts directly to business outcomes.
- Unsubscribe rate: A spike here means you might be sending too many notifications or content that doesn’t resonate.
Set up alerts for bounce rates (failed deliveries) and platform-specific error rates. For example, if your iOS delivery rate drops sharply, you’ll want to know right away.
Dive into engagement patterns to optimize send times. Analyze when users are most likely to open notifications during the day or week, and schedule your campaigns accordingly.
A/B testing can also help refine your strategy. Test different versions of a notification – maybe tweak the title or call-to-action – and compare which one performs better.
Finally, monitor subscription growth to ensure your opt-in strategy is working. If subscriptions are lagging, revisit how and when you’re asking for permissions. For iOS PWAs, track how many users complete the installation step, as it’s required for notification subscriptions.
Segment your metrics by platform. User behavior often varies between iOS, Android, and PWA audiences. Understanding these differences lets you fine-tune your approach for each group, ensuring your notifications hit the mark.
Conclusion
Setting up push notifications for iOS, Android, and PWAs is a smart move to increase user engagement. Each platform – whether it’s APNs for iOS, Firebase Cloud Messaging (FCM) for Android, or Service Workers for PWAs – comes with its own setup requirements. By tailoring configurations to each platform, you ensure reliable and effective message delivery.
Getting the credentials and user permissions right is crucial. A well-configured system not only improves delivery and open rates but also strengthens user retention. Timing is everything when asking for user consent – requesting permission at the right moment can shape a more positive user experience.
Testing on real devices is another must. Simulators often miss subtle platform-specific behaviors, while physical devices reveal how notifications truly perform in the real world.
Once your notifications are live, keep a close eye on performance metrics like delivery and open rates. Regular monitoring helps you spot issues early, whether it’s an expired APNs certificate or a misconfigured service worker. Breaking down metrics by platform can uncover patterns that help fine-tune your strategy.
Managing notifications across multiple platforms is easier with centralized credentials and unified channel configurations. This approach minimizes errors, saves time, and ensures user preferences, like opting out, are applied consistently across devices.
Push notifications, when set up thoughtfully, are a powerful way to connect with your audience. By focusing on careful configuration, respecting platform-specific quirks, and consistently monitoring performance, you can create a notification system that not only grabs attention but also builds lasting user relationships.
And if you’re using AppInstitute’s no-code app builder, managing push notifications becomes even simpler. Their intuitive tools make it easy to handle notifications across iOS, Android, and PWAs without the technical headaches.
FAQs
What are the main differences in setting up push notifications for iOS, Android, and PWAs?
Setting up push notifications differs depending on whether you’re working with iOS, Android, or Progressive Web Apps (PWAs), as each platform comes with its own set of requirements.
For iOS, you’ll need to connect with Apple’s Push Notification Service (APNs). This involves obtaining a unique certificate or authentication key from your Apple Developer account. On Android, notifications are managed through Firebase Cloud Messaging (FCM), which requires you to link your app to a Firebase project and set up the necessary API keys. When it comes to PWAs, push notifications depend on browser compatibility and require a service worker script to manage permissions and notifications.
While the process varies across platforms, using tools like no-code platforms can make things easier by automating much of the setup for you.
How do I ensure push notifications work seamlessly on iOS, Android, and PWAs?
To make sure push notifications work smoothly across iOS, Android, and Progressive Web Apps (PWAs), each platform needs to be set up according to its unique requirements.
- For iOS: Configure the Apple Push Notification Service (APNs) by generating the required certificates or keys.
- For Android: Integrate with Firebase Cloud Messaging (FCM), which handles notification delivery for Android devices.
- For PWAs: Set up a service worker and implement web push protocols to enable notifications.
Don’t skip testing – regular checks on each platform ensure notifications are working as they should. It’s also important to manage user permissions properly and keep your APIs and certificates updated to avoid potential delivery problems.
What are common challenges when setting up push notifications, and how can you fix them?
Setting up push notifications can feel a bit tricky, but most problems can be fixed with a few straightforward steps. Here are some common issues and how to solve them:
- Incorrect API keys or certificates: Check that the API keys or push certificates for iOS and Android are properly set up in your app’s settings. Look out for typos or credentials that might have expired.
- Device permissions not granted: Push notifications won’t work if users haven’t given permission. Ensure your app prompts users to enable notifications, and remind them to check their device settings if notifications aren’t allowed.
- Network issues: Push notifications need a stable internet connection. If they’re not coming through, verify that the device is connected to Wi-Fi or mobile data.
If you’re using a no-code platform like AppInstitute, the process becomes much easier. Just follow their step-by-step guide to configure notifications for iOS, Android, and PWAs without the usual headaches.
Related Blog Posts
- Push Notifications: How to Boost Customer Engagement
- How to Build Responsive PWAs Without Code
- Ultimate Guide to PWA Push Notifications
- How to Manage Client Communication with No-Code Apps
Last Updated on December 1, 2025 by Becky Halls
0 thoughts on “How to Set Up Platform-Specific Push Notifications”